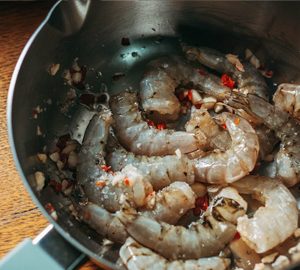
On Hilton Head Island and in all of the Lowcountry, the seasonal oyster roast is an integral part of the fall and winter months.
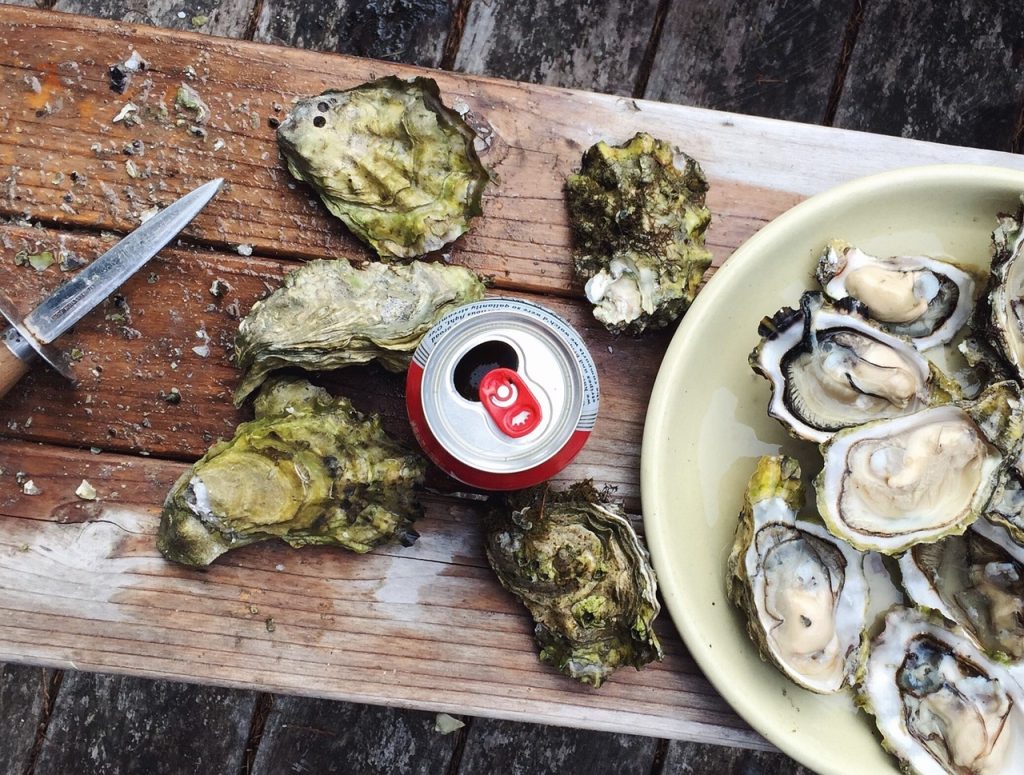
If you ever thought of having an oyster roast at your vacation rental home or at your own house it’s a perfect gathering to feed a happy crowd. Let us walk you through the step-by-step process of throwing an oyster roast that your guests will remember for years to come.
Step 1: Choose a location
The first thing you need to consider when planning an oyster roast is the location. It’s important to choose a spot that has easy access to water and can accommodate all your guests comfortably. A beach or waterfront property is usually ideal for hosting an oyster roast.
Step 2: Gather supplies
Next, you’ll need to gather all the necessary supplies for your oyster roast. This includes oysters, of course, but also other essential items such as a large table for shucking and serving, a grill or fire pit for cooking the oysters, and plenty of chairs and tables for your guests to sit and enjoy their food.
Step 3: Prep the oysters
Before your guests arrive, you’ll need to prep the oysters. This involves cleaning them thoroughly with a brush and rinsing them in water. You may also want to sort through them to remove any dead or damaged ones.
Step 4: Get the fire going
The key to a successful oyster roast is having a hot fire. Make sure you have enough wood or charcoal to keep the fire going throughout the roast. You may also want to have a small fire extinguisher on hand, just in case.
Step 5: Cook the oysters
Once the fire is hot and ready, it’s time to start cooking the oysters. Place them on the grill or in a roasting pan and cook until they open up, which usually takes about 10-15 minutes depending on the heat of your fire.
Step 6: Shuck and serve
As soon as the oysters are cooked, remove them from the heat and begin shucking them. This involves opening up each oyster with an oyster knife and separating it from its shell. As you shuck, place the oysters on a large table for your guests to serve themselves.
Step 7: Enjoy!
Now it’s time to sit back and enjoy the fruits of your labor! Encourage your guests to try different toppings with their oysters, such as hot sauce, lemon juice or melted butter. And don’t forget to have plenty of cold drinks on hand to wash down those delicious oysters.
Additional tips:
- To ensure that all your oysters are fresh, buy them from a reputable seafood market or supplier. On Hilton Head Island, you can buy oysters for your roast at Barnacle Bill’s Fresh Seafood Market and Benny Hudson’s Seafood.
- Don’t be afraid to get creative with toppings for your oysters. Some popular options include bacon, cheese, and herbs like parsley or chives.
- Have plenty of extra oyster knives on hand in case some guests want to try shucking their own oysters.
- Consider having a designated area for disposing of empty shells, such as a large bucket or trash can.
- Don’t forget about non-oyster options for your guests who may not like seafood. Grilling up some burgers and hot dogs is always a good idea.
Overall, an oyster roast is the perfect way to gather friends and family together for a delicious and memorable outdoor feast.
So go ahead and give it a try – you’ll be glad you did! Throwing an oyster roast may seem like a daunting task, but with these simple steps and additional tips, you can easily host a successful and enjoyable event.